1. Start with your photo
Take a photo in TimeFix or choose one from your album. Decide whether to add the street address, site name, floor or room number.
2. Choose an address watermark
Choose a watermark with an address field. Check that it has space for the information you need to add.
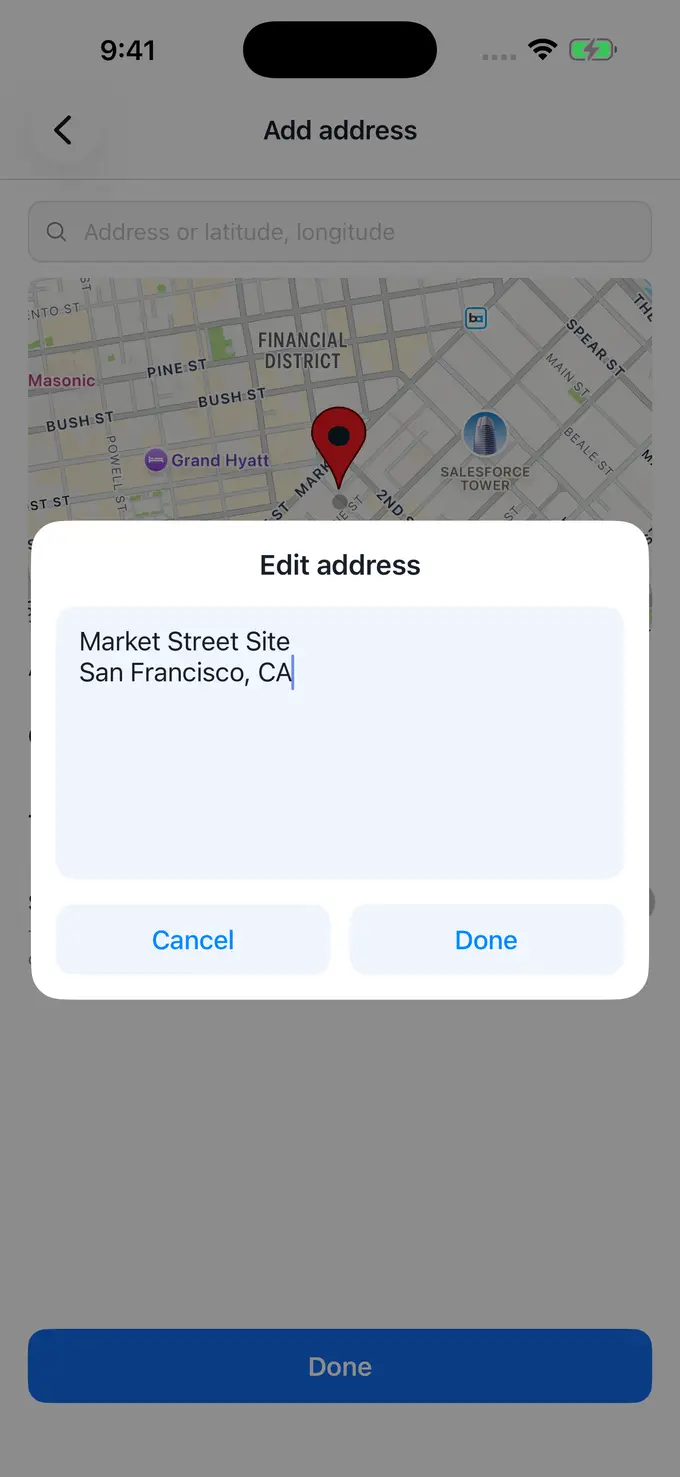
3. Enter the site address or name
Open the address setting and type the place name. You can add the street address, site name, floor or room number. For example, “Building A, Floor 2” is clearer than just a city name.
4. Review every location field
Check the address on the photo. If the watermark also shows GPS coordinates or a map, check those too. Typing an address does not verify that the photo was taken there.
5. Save and check the photo
Make sure the full address fits and is easy to read. Save the photo and open it to check. Use the same site name on photos of the same job.
Good to know
Do I have to use an automatically detected address?
No. Supported watermark templates allow you to customize the displayed address text.
Does this edit the photo’s GPS metadata?
No. These steps change the address written on the photo, not the GPS data stored inside the photo file.